All Asia All Month Delight your taste buds with these delicious recipes. General Tso’s Chicken: Crispy, Spicy, Sweet & TartContinue Reading General Tso’s Chicken: Crispy, Spicy, Sweet & Tart Spicy Asian Cucumber SaladContinue Reading Spicy Asian Cucumber Salad Phat Thai (Stir-Fried Rice Noodles with Tamarind Sauce, Peanuts & Lime)Continue Reading Phat Thai (Stir-Fried Rice Noodles with Tamarind Sauce, Peanuts & Lime) Thai Red Curry SoupContinue Reading Thai Red Curry Soup Spicy Korean Noodle Soup (Jjambbong)Continue Reading Spicy Korean Noodle Soup (Jjambbong) Spicy Pork Wonton SoupContinue Reading Spicy Pork Wonton Soup Crispy Crunchy Asian Sweet Potato & Prawn CakesContinue Reading Crispy Crunchy Asian Sweet Potato & Prawn Cakes Sichuan Tempura-Fried Wild MushroomsContinue Reading Sichuan Tempura-Fried Wild Mushrooms Pork & Prawn Potstickers (aka Asian Dumplings)Continue Reading Pork & Prawn Potstickers (aka Asian Dumplings) Spicy Thai Peanut SauceContinue Reading Spicy Thai Peanut Sauce Chinese Cracker JacksContinue Reading Chinese Cracker Jacks Cold Spiced Peanut Sesame Noodles with Peanut Chile SauceContinue Reading Cold Spiced Peanut Sesame Noodles with Peanut Chile Sauce
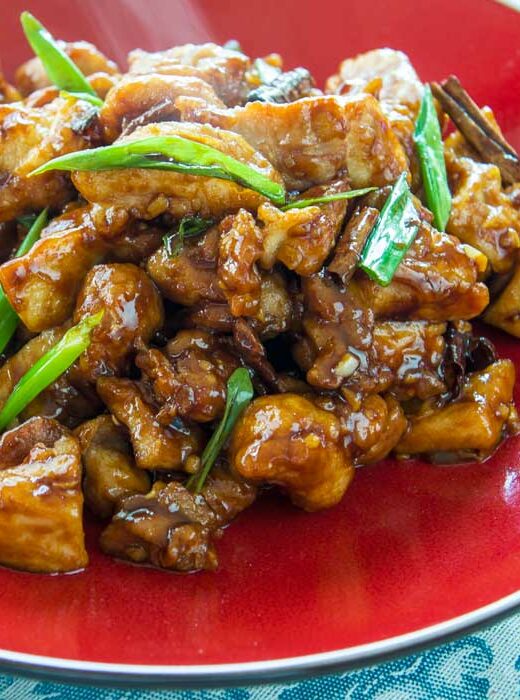
General Tso’s Chicken: Crispy, Spicy, Sweet & TartContinue Reading General Tso’s Chicken: Crispy, Spicy, Sweet & Tart
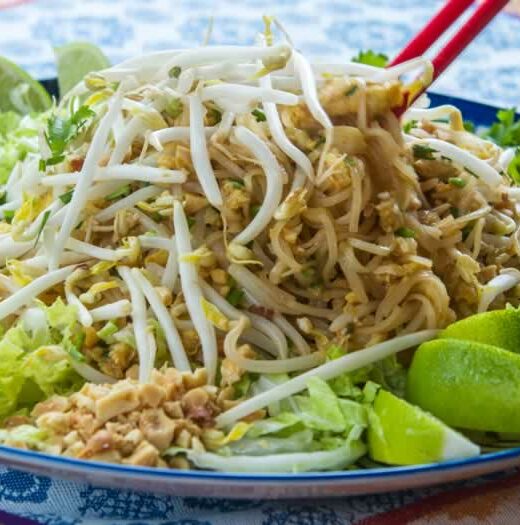
Phat Thai (Stir-Fried Rice Noodles with Tamarind Sauce, Peanuts & Lime)Continue Reading Phat Thai (Stir-Fried Rice Noodles with Tamarind Sauce, Peanuts & Lime)
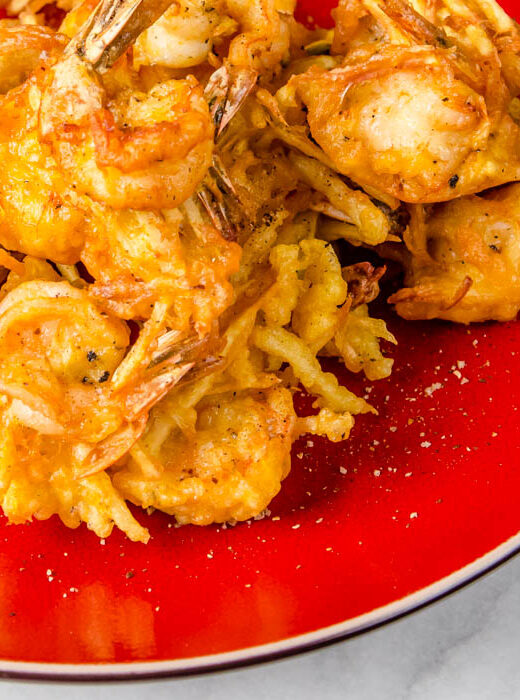
Crispy Crunchy Asian Sweet Potato & Prawn CakesContinue Reading Crispy Crunchy Asian Sweet Potato & Prawn Cakes
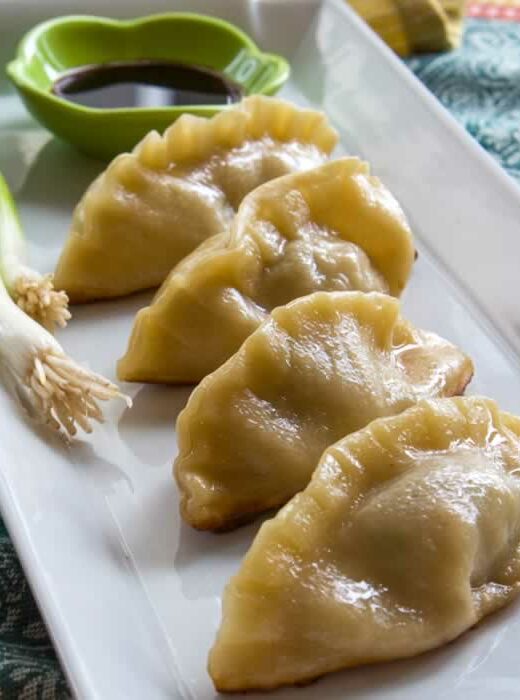
Pork & Prawn Potstickers (aka Asian Dumplings)Continue Reading Pork & Prawn Potstickers (aka Asian Dumplings)
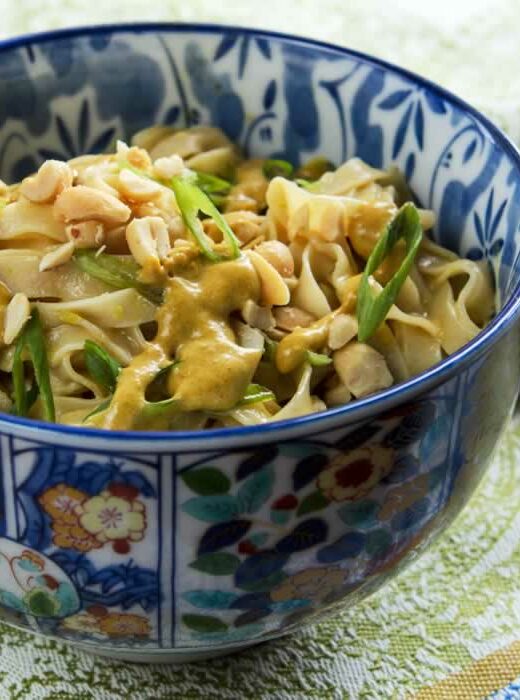
Cold Spiced Peanut Sesame Noodles with Peanut Chile SauceContinue Reading Cold Spiced Peanut Sesame Noodles with Peanut Chile Sauce