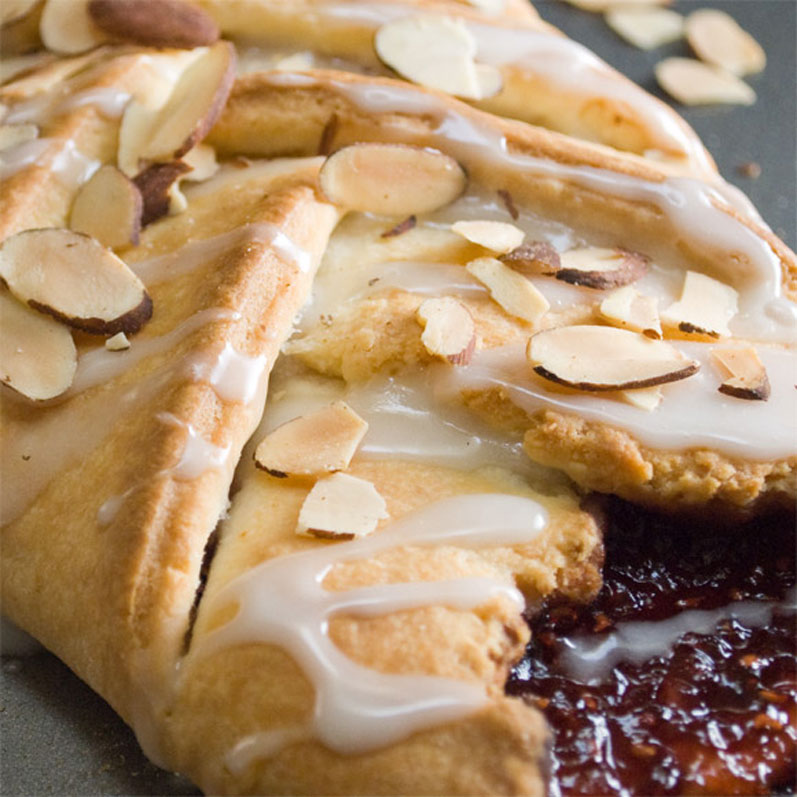
Whenever the word “brunch” is mentioned, this coffee cake drifts through the wide open space of my mind.
 Yeah, right! I WISH my mind was a wide open space. To tell the truth, it’s crowded with ideas on what I’m going to create next in the OtherWorldly Kitchen. Spring is here. Finally! Rhubarb is shoving every other ingredient aside and screaming, “Me, Me.” Sweet Peas are leaping, twirling, and shouting, “But what about that amazing Chilled Sweet Pea Soup you said you would work up as soon as I hit the fresh market? You promised!” (Actually, I did actually complete this one sometime after this post.) You don’t even want to know what nonsense Basil is whispering. Something about ice cream.
 Nevertheless, as I was saying, this coffeecake drifts through my very crowded mind whenever brunch is mentioned. That’s because it’s so delicious and so easy. It may also have something to do with the fact that people go gaga over it and beg me for the recipe.
 I give it to them, of course, but always reluctantly, because after they see for themselves how easy it is to make, they may begin to question ALL of my seeming feats of culinary magic.
 And they might give the recipe to 50 of their closest friends, which would mean that everyone (maybe even one of my family members) would bring this same coffeecake to the next family brunch. And then where would I be?

But I’m sure that YOU will keep this recipe strictly to yourself, right?

Raspberry Cream Cheese Coffee Cake
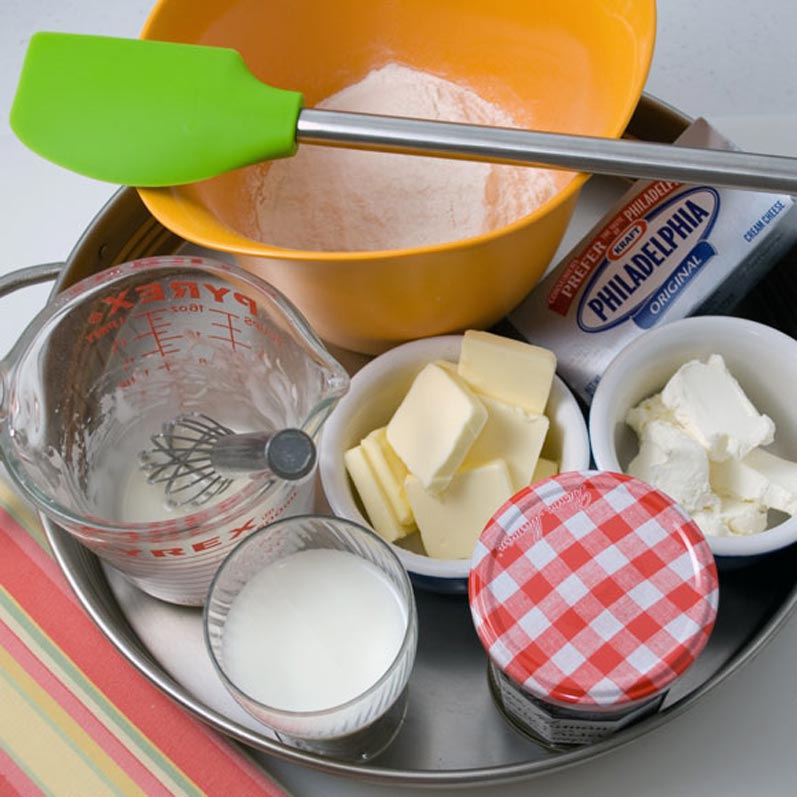
2 cups unbleached, all-purpose flour, sifted
1 teaspoon baking powder
½ teaspoon fine sea salt
½ cup unsalted butter
3 ounces best quality cream cheese
½ cup milk
½ cup artisan raspberry preserves (or your favorite preserves)
Icing
½ cup powdered sugar
1 tablespoon milk
¼ teaspoon vanilla
Optional
2 tablespoons toasted sliced almonds
- In a large mixing bowl, sift the flour, baking powder, and salt. Whisk vigorously to distribute the baking powder and salt.
- With a pastry cutter or the tips of your fingers, cut the cream cheese and butter into the flour mixture.
- Quickly and gently blend in the milk.
-
Turn the dough onto a floured surface and knead VERY LIGHTLY for 4-5 strokes.
NOTE This is the step at which you can ruin the coffeecake. If you overwork the dough, the pastry will be tough. Just gather the dough together and don’t worry about making it smooth. It will still look a little rough. That’s perfect.
- On waxed paper, roll the dough to an 8- by 12-inch rectangle.
- Turn dough out onto a lightly greased baking sheet and remove the waxed paper.
- Measure and mark the dough lengthwise into thirds.
- Spread preserves down the middle third of the dough, keeping it about ½ inch from the mark on both sides.
- Make 2¾-inch slight diagonal cuts at 1-inch intervals on each the long sides. Do not cut into the center jam-filled area.
- Fold strips, first one from one side and then one from the other side in a rotating fashion, over the filling. The coffeecake will now resemble a braid.
- Bake in a 425° oven for 12-15 minutes, until the dough is cooked through and the top is lightly browned.
- In a small glass measuring cup with a pouring spout, combine the sugar, milk, and vanilla. Drizzle over the top of the coffeecake.
- If desired, sprinkle on the toasted sliced almonds while the icing is still wet.
-
Serve warm.
Makes one 8- by 12-inch coffee cake.
Copyright 2008 Susan S. Bradley. All rights reserved.

I found this post hilarious–and the coffee cake super impressive! You sure it is really that easy?
Oh man, what I wouldn’t give to have some of that with my coffee right now. Looks so delicious. Thanks for the step by step pics!
I want this for breakfast and anytime of the day! Looks so delish! Thank you so much for sharing this recipe and love the step-by-step tutorial. Have to make this soon! Pinned, too.
You have made this look utterly easy. To say I am intimidated by pastry is an understatement, but your photo instructions gives me the notion that maybe I can do it too.
This looks SUPER impressive, I’m sure it tastes as good as it looks!
I love how you’ve braided this! Looks divine!
Wow…this is a gorgeous and delicious looking coffee cake – luv all your images and all the step-by-step process detailed images you’ve included too. Lovely post…pinning!
I have not seen this blog for a long time, however, it was wonderful to see such a great post. Many thanks for all the great recipes.
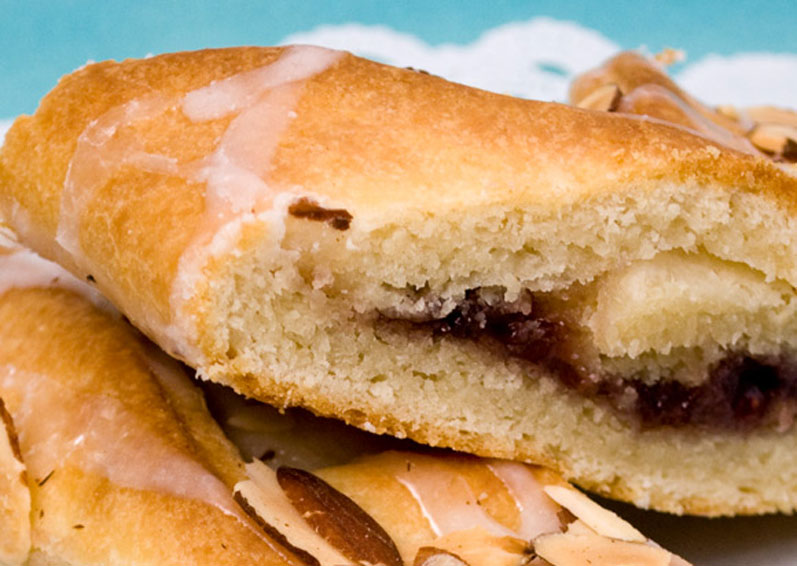
The whole cake looks fantastic, but the slice in the last photo is hard to resist…
I tried making it, but unfortunately didn’t handle the dough very well. I added about half the milk first, but even then the dough instantly became very wet and difficult to roll. I used 9 ounces of flour, which I think is the correct amount, so I’m not sure what went wrong.
Could you please offer your advice?
I’d really like to give it another try.
Thank you!
I have to say, bravo, kudos and thank you for such an awesome recipe… To anyone wanting to try this but thinking it would be too hard, It is easy,, for a danish like pastry without all the steps that a traditional danish pastry takes. I was so blown away with the results.
The method is so clear and easy to follow. My family loved it…. I made one with a homemade nut filling also, and it was a big hit.. Thanks again for giving this recipe…….
Coffeebean, thank you so much for letting us know how this turned out for you. It is a great favorite here as well.
I got to thank you for spending the time to write this recipe. It is in fact very simple compared to other cheese coffee cake. I love the folding part because it is so simple yet unique and stylish. Awesome idea. Thank you very much.
i have always wondered how the braided breads and pastries were done. thank you so much for the detailed photos of the braiding process – they are wonderful. and when you actually see it step-by-step, it makes so much sense.
.-= shoestringfoodie´s last blog ..The Most Perfect Cake: Milk Chocolate and Pear Cake =-.
Shoestringfoodie, thank you so much! I love showing that particular braiding process bescause the end result is so pretty and the method so easy to execute. I hope everyone will give it a try.
Looks so wonderful! Thank you for posting the recipe and step-by-step photos as well.
Can I ask if the butter and cream cheese should be cold or room temperature when added to the flour?
Thank you for a great blog!
Shelly, thank you! VERY COLD, definitely. I will add that to the recipe. Thanks for catching!
Did anyone notice its listed in the Ingredients as 1 tsp Baking Powder, then in the Instructions it calls it Baking Soda, which is it? or do I use both in this recipe?
Lucy, good catch, thanks! That was a typo and is now corrected. No baking soda in the recipe.
Thanks for this delicious and easy recipe!! It’s one of my new favorites.
I just found the site,its great!! I been making these off of,”The Fresh Loaf”,with the cream cheese bed,for the different fruit,everyone loves them!! This does look so good!! Look up,Floyds,Blue Berry Braid,if you are interested.Thanks,for all your work and time,on this blog,you help many of us be better cooks,and our families enjoy,better food!!!!
Thanks Jim! Here’s that link for folks who want to check out Floyd’s Blueberry Braid: http://www.thefreshloaf.com/node/14885/floyd039s-blueberry-braid.
Thanks Kevin!
Kevin’s last blog post: Apricot Lamb Tagine at http://closetcooking.blogspot.com/2009/04/apricot-lamb-tagine.html
(Not sure why commentluv didn’t add this.)
Yum! I think this is a winner coffee Cake. I’m going to try it!
Terri
Terri´s last blog post..Spring is showing up in many ways!
I am going to an Easter Brunch, like everyone else, and THIS is what I am taking! I have some lilikoi jam I brought back from the islands,and I think that is screaming for this recipe. Yep, that’s what I will do. Thanks again for the evening drooool.
Dana Zia´s last blog post..Bunnie Munchies to the rescue!
Ohhh… lilikoi jam! Did you bring back macadamia nuts too? Maybe those on top instead of almonds? Now you are making ME HUNGRY.
Thanks so much, Dana!
Wow… gotta love easy and it’s also mouth watering in pictures. Thank you for sharing. I’m going to give it a shot.
Great Post! The pics make this look a lot easier than I am sure it is! My Mouth is Watering =)
FoodOfMiami´s last blog post..Hiro’s Yakko San – North Miami
Thank you! But truly, it’s VERY easy.
Looks amazing and most importantly simple.
Also, thanks for sharing the easter links. Ran my mouth and now I promised mom I would bring something but am at a loss.
Jeff´s last blog post..Grilled Salsa Verde and act now I will throw in flank steak